Discovering a tick on your loyal companion can make you concerned. Knowing how to swiftly and safely remove a tick from your dog is crucial, as these pesky parasites can transmit diseases and cause discomfort or irritation for your furry friend. It’s key to tackle this task with confidence, care (and perhaps patience).
While it might seem like a small task in the grand scheme of pet health, properly extracting a tick is more nuanced than you might think. Questions could swirl in your mind at the sight of one: Are there specific tools I need? How do I ensure the entire tick is removed? After all, leaving behind any part of the pest could lead to infection. So let’s unravel the tick removal mystery, arming you with the know-how to protect your pup and keep those tail wags coming.
Key Takeaways
- Swift and safe removal of ticks from dogs is vital for their health.
- Proper technique is key to ensuring the entire tick is removed.
- Follow-up care is necessary to prevent infection and monitor for potential diseases.
Understanding Ticks and Risks
Ticks are more than just pesky critters; they carry potentially serious diseases. Here, we’ll explore the types of ticks you might encounter and the risks they pose.
Identify Different Tick Species
Ticks vary in species, with each having different habitats and behaviors. In the United States, the black-legged tick, also known as the deer tick (Ixodes scapularis), is infamous for its ability to transmit Lyme disease. Down south, you might cross paths with the lone star tick (Amblyomma americanum), easily identifiable by the distinct white dot on its back. Out west, watch out for the American dog tick (Dermacentor variabilis), which prefers to hitch a ride on roaming dogs.
Potential Diseases Transmitted by Ticks
Now, to the crux of the matter: diseases. Ticks are notorious as vectors for transmitting illnesses such as Lyme disease, which can cause a host of symptoms ranging from fever to neurological problems if left untreated. But Lyme isn’t the only concern (as if it wasn’t enough, right?). Ticks can also spread other tick-borne illnesses, including Rocky Mountain spotted fever and ehrlichiosis. It’s essential to remember that prompt removal and proper identification of ticks can significantly reduce disease risk.
Preparations for Tick Removal
Before evicting that unwanted tick from your furry pal, it’s crucial to assemble a proper tick removal kit. Like a detective prepping for a case, you must equip yourself with precision tools to protect yourself and your pet.
Assembling Your Tick Removal Kit
When prepping for tick removal (think of it as a mini battle station), your arsenal should include fine-point tweezers—they’re the golden standard for getting a good grip on the pesky critter without squishing it. A tick removal tool can also be a nifty gadget designed to safely dislodge the tick from your pet’s skin. Keep a small container filled with rubbing alcohol handy; that’s where you’ll drop the tick post-removal to ensure it’s no longer a threat. And don’t forget, some cotton balls or a gentle cloth dampened with rubbing alcohol will be useful for sterilizing the bite site.
Protecting Yourself and Your Pet
First, gear up with gloves to minimize the risk of transmitting tick-borne nasties to yourself (after all, your health is as important as your four-legged friend’s). Keep your pet calm and reassured; a soothing voice and their favorite treats can keep them still. Cleanliness is your ally here, so after tick removal, washing the area with soap and water is a must—think of it as erasing the last traces of the tick’s unwelcome visit. A serene pet owner means a serene pet, so take a deep, calming breath before you begin, and remember: you’ve got this.
Removing the Tick from Your Dog
Dealing with ticks on your dog can be unnerving, but it’s important to approach removal calmly and with the right technique, ensuring you get the entire tick out.

Locating the Tick
Scanning every inch of your furry friend’s body is crucial—ticks can hide in the coziest nooks—behind ears, between toes, under the collar, or even on the eyelids. Slip on some gloves and (gently!) check the warm areas where ticks love to burrow: ears, legs, chin, and neck. A tick might feel like a small bump on your dog’s skin. A magnifying glass can help you spot these tiny pests, especially if they are embedded in your dog’s skin.
Using the Right Technique
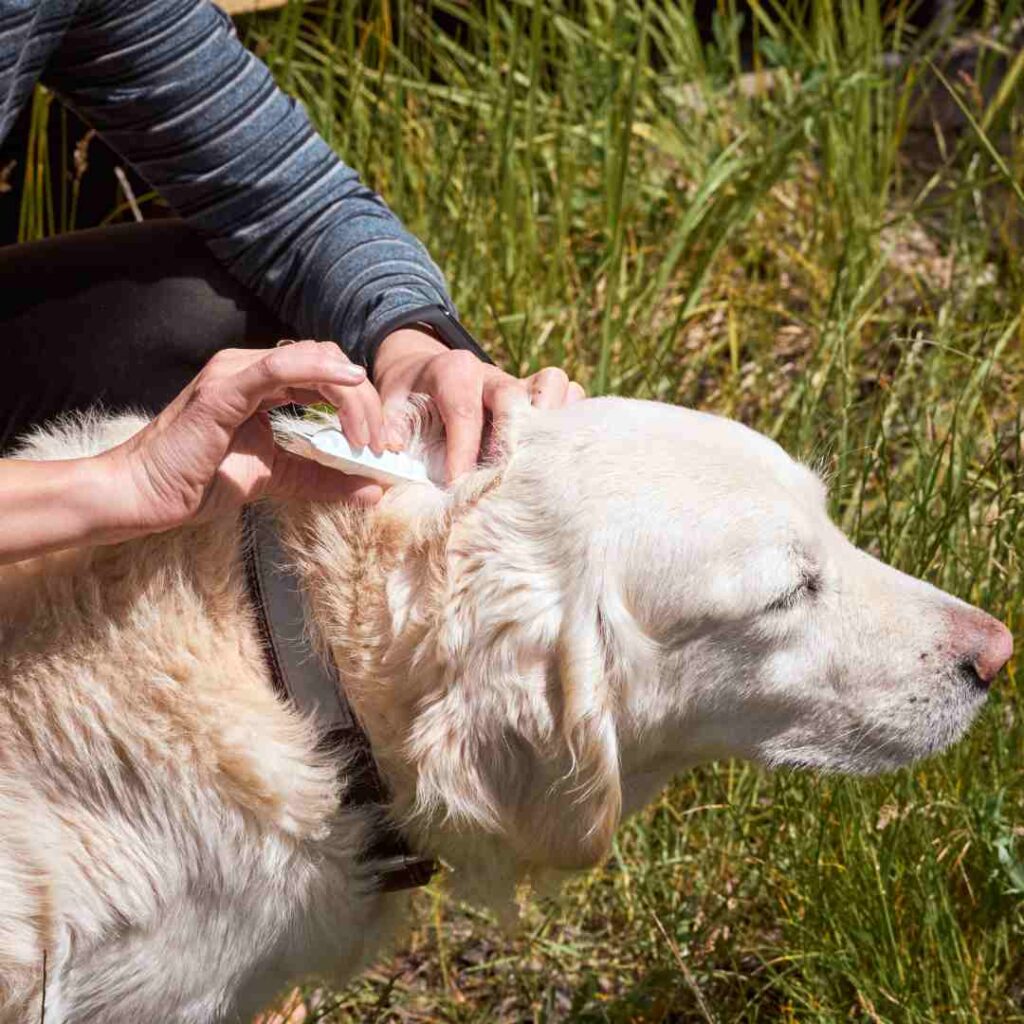
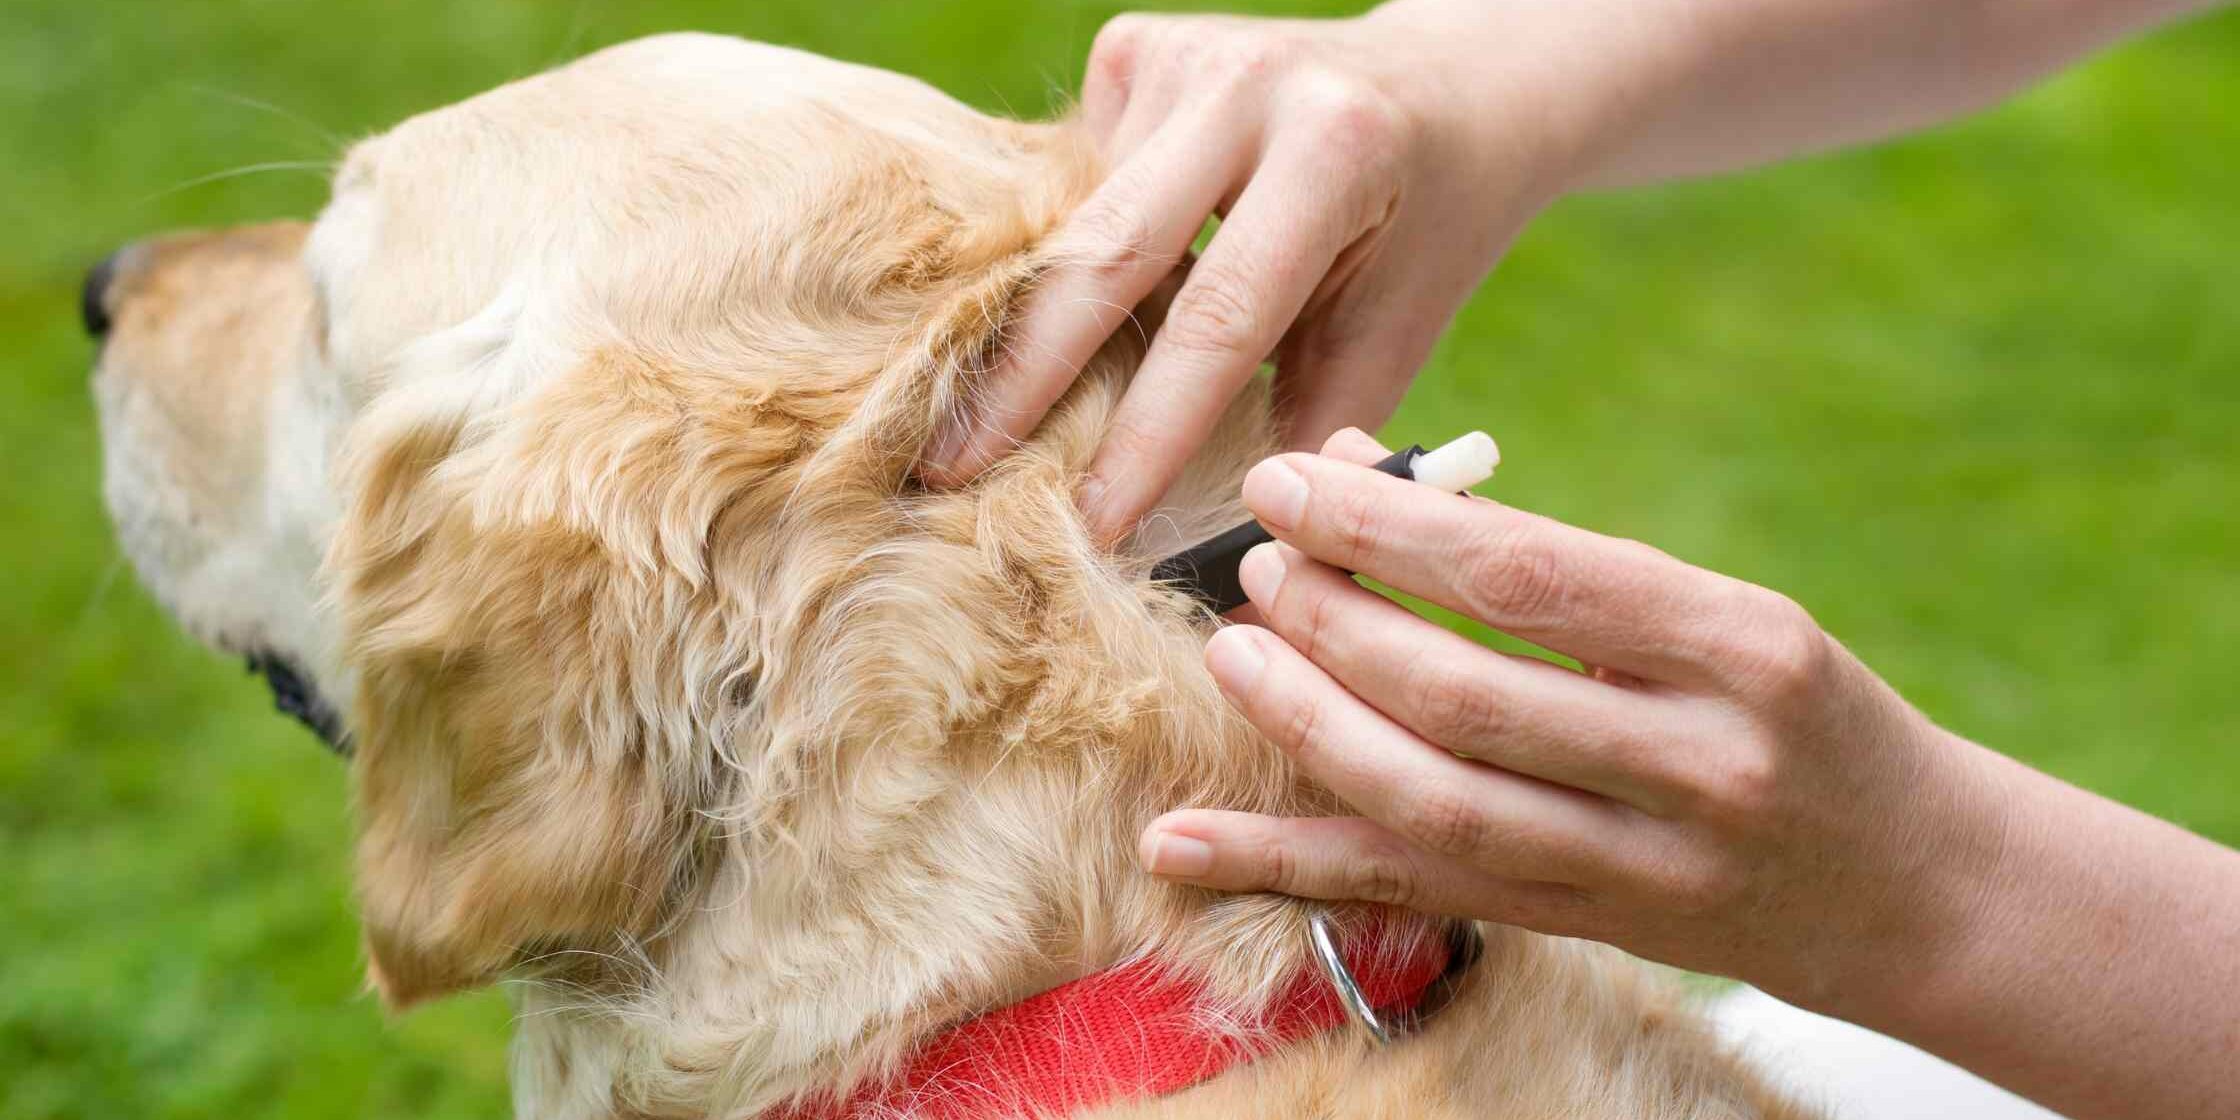
Once you’ve spotted the culprit, grabbing the right tools is your next step. Fine-point tweezers or a specially designed tick remover can make the job easier. With a firm grasp, get as close to the skin as possible to secure the tick’s head. (You’ve got this—no need to panic!) Use slow, steady pressure to pull the tick out straightly without twisting. If any part of the tick stays in the skin, like the tick head, it’s best to seek veterinary help to prevent infection. Remember, no jerking or twisting—think of it like unplugging a cord, not yanking it out. After you’ve removed the tick, clean the area well and dispose of the tick properly.
Aftercare and Monitoring
Proper aftercare following a tick removal is crucial to your dog’s recovery and overall health. It involves treating the affected area to prevent infection and vigilantly watching for signs of potential tick-transmitted diseases.
Cleaning and Disinfecting the Bite Site
After you’ve removed the tick from your dog’s skin, you’ll need to (thoroughly) clean the site to ward off infection. First, wipe the area with a clean cloth damped in warm soapy water. Then, apply a disinfectant like isopropyl alcohol to help eliminate any lingering pathogens. Finally, an antibiotic ointment can provide extra protection against bacteria.
Watching for Symptoms of Tick-Transmitted Diseases
How’s your detective cap? You’ll need it now to watch for symptoms—it’s a critical part (no joke) of your pet’s aftercare. Symptoms like lethargy, fever, loss of appetite, or swelling could indicate a tick-transmitted disease. Trust your gut—if you notice anything off, don’t hesitate to call the vet. Early detection and treatment are paramount to your dog’s health after a tick bite. Keep those peepers peeled and stay connected to your pet’s normal behavior patterns!
Prevention and Environmental Control
Taking the right steps to prevent tick infestations is essential for the health and happiness of your furry friend. Explore daily routines and landscaping tips that help keep these pesky parasites at bay.
Daily Tick Checks and Preventative Measures
Regular tick checks are your first defense after a day of frolicking outdoors. After you and your pup return from your woodland adventures, it’s time to get up close and personal (think of it as quality time). Run your fingers through their coat with purpose, feeling for any unexpected bumps that might indicate a tick has made itself too comfortable. Talk soothingly to keep them calm – this could be a peculiar experience for your dog. Use preventive treatments, like topical solutions or even a Seresto collar, as your vet recommends. These tick prevention methods repel and kill ticks before they can latch on and cause harm.
- Daily Routines:
- Conduct thorough tick checks on your pet’s skin, especially after visits to high-risk areas.
- Apply vet-recommended preventatives consistently.
(Hmm, did I miss a spot behind those floppy ears?)
Creating a Tick-Unfriendly Environment
Making your garden less inviting to ticks can significantly reduce the number of tick bites on dogs. Revamp your outdoor space; clear tall grasses and brush around your home and at the edge of the lawn. Stack wood neatly in a dry area to discourage tick-hosting wildlife from moving in. Pro tip: If you create a wood chips or gravel barrier between your lawn and wooded areas, ticks are less likely to cross over into your pet’s play space.
- Yard Modifications:
- Clear vegetation near the house and maintain a tidy yard.
- Set up physical barriers to deter ticks from entering your lawn.
Frequently Asked Questions
Ensure safe and effective tick removal for your beloved pooch—it’s all about precision and gentle care. Here’s how to rise to the occasion confidently.
What is the safest way to extract a tick from my dog?
To safely extract a tick from your dog, use fine-point tweezers to grasp the tick as close to your dog’s skin as possible, then gently pull it out with a steady motion, making sure not to twist or jerk; this is vital to prevent leaving any parts of the tick behind, which could lead to infection (American Kennel Club).
Can I use common household items to remove a tick from my dog?
Common household items like regular tweezers can be used, but specialized tick removal tools are preferred. They are designed to remove ticks more effectively and reduce the risk of transmitting tick-borne diseases (Humane Society).
What should I do immediately after the tick is removed from my dog?
After removing the tick, clean the bite area and your tweezers with rubbing alcohol, soap, and water. Watch the bite site for signs of infection and consider contacting your vet about the need for further action (Purina).
Is it necessary to use special tools for tick removal on dogs?
While not strictly necessary, special tick removal tools can make the process safer and more efficient by minimizing the risk of breaking the tick and causing infection (BetterVet).
What are the risks of using alcohol for tick removal on my dog?
While alcohol can clean the bite site after removal, applying it beforehand isn’t recommended. It may cause the tick to regurgitate its stomach contents into your dog, increasing the risk of disease transmission (you wouldn’t want to give that nasty bug even a chance, would you?).
How can I tell if all the ticks have been successfully removed from my dog?
After removal, examine the tick to ensure the head and mouthparts are intact. If any parts remain in your dog’s skin, they may need to be removed by a vet to prevent infection and promote healing (it’s like ensuring you’ve got every piece of a splinter out, clear and clean).


